Showing posts with label nailed it. Show all posts

Wednesday, October 1, 2014

west coasters

i should be working, but it occurred to me that i made something and then didn't tell you all about it which means i need to fix that tout suite.

this is a ten-minute craft, max. not counting drying time, but no one counts drying time because you can instagram a craft while it's still wet, and that's when it's real, right?

this is what i made:


this craft has four amazing steps:

1) find and purchase birch coasters. i mean, if you're super ambitious and you've recently cut some dead branches off a birch tree outside your house (currently happening at my home), you could cut some cookies off of that and sand them down. your call.
2) purchase washi tape. i opted for two kids: straight and chevron. 
3) attach washi tape semi-haphazardly across the birch. i wanted each one to be a little different, so my washi taping was a little intentional.
4) mod podge over the top. this seems to protect it from things like condensation from bottles, so i wouldn't skip this step if i were you.

one thing i did that i would not recommend is i put little felt disks on the bottom (three on each). this would have been key if i were using these coasters on glass, but i'm using them on a slated wood coffee table which means the felt has the opposite effect i wanted, and makes the coasters wobble a little. 

give it a try! wood cookie coasters are popular and there are so many ways to make them your own. 

bisoux!

Wednesday, September 24, 2014

it's 4:45 in the afternoon, also known as when i'm a waste of space

so let's take this opportunity to talk about something really awesome that i made.

keen insight: ikea both sucks so much and is so great at the exact same time. i recently moved to los angeles (more on that another time) and i tried really hard to avoid ikea. because i'm a grown-up now, with a salary, and i should buy my things from west elm and pottery barn.

but then i started browsing ikea hack sites on pinterest. i won't bother posting any here because there are so many and i don't want to take attention away from the one i'm going to show you that i made.

first i bought this dresser (except in white...somehow i can't find a picture of a white one online). in case you're wondering, it's the three-drawer hemnes:


before i even got it home, i went to target. fun fact, target now sells wallpaper. and paint! i don't care how long they've been doing this, i just figured it out so it only just became important. there are so many great wallpapers. i'm not sure how i settled on this one...i think it's because i already have a lot of chevrons in my room decor and didn't want to overdo it. this one has the same angles but mixes it up a bit, plus the color is lovely:

Devine Color Diamond Wallpaper - Horizon

i also bought a set of new knobs, because i'm no longer on a graduate student stipend so i can do things like that.

with the help of some wine, bollywood music, and my new roommate, the dresser became assembled. BUT: before i put the knobs in, i covered the face of each drawer with this wallpaper (pro tip: it's removable and repositionable. that was really important). it's like adhering any other vinyl...you have to be careful of air bubbles and all those things. but overall it's remarkably simple.

then, i used a little awl to poke holes in the wallpaper where the knobs should be (not hard, since the dresser already had space for knobs so it was just a matter of finding them through the paper). instead of using the ikea knobs, i used my own, and VOILA:


i'm so proud. i thought about putting the wallpaper on the top too, but took the coco chanel approach and decided that would be overboard. i have a lot of the wallpaper left over, so i'm excited to see what else i can use it for...i'm thinking so far about using it to line the shelves in my bathroom...and then see where it goes from there!

Monday, August 18, 2014

sorry for leaving. in return, here's a quality nailed it.

OOPS.
so i accidentally went and finished my phd and in the midst of that i forgot to post anything here at all.

but luckily, i'm back (now as DR. KATHAYOON) and i have lots of crafts and style observations to share. in lieu of doing a massive brain spill where i convey everything i've thought and made in the past eight months, i'll take things slow and start with a craft i did recently! ready? let's begin.

yesterday i embarked on the task of concrete heart necklaces. i got the directions from here but true to form, i only sort of followed them and did a lot of things my own way. let's begin.

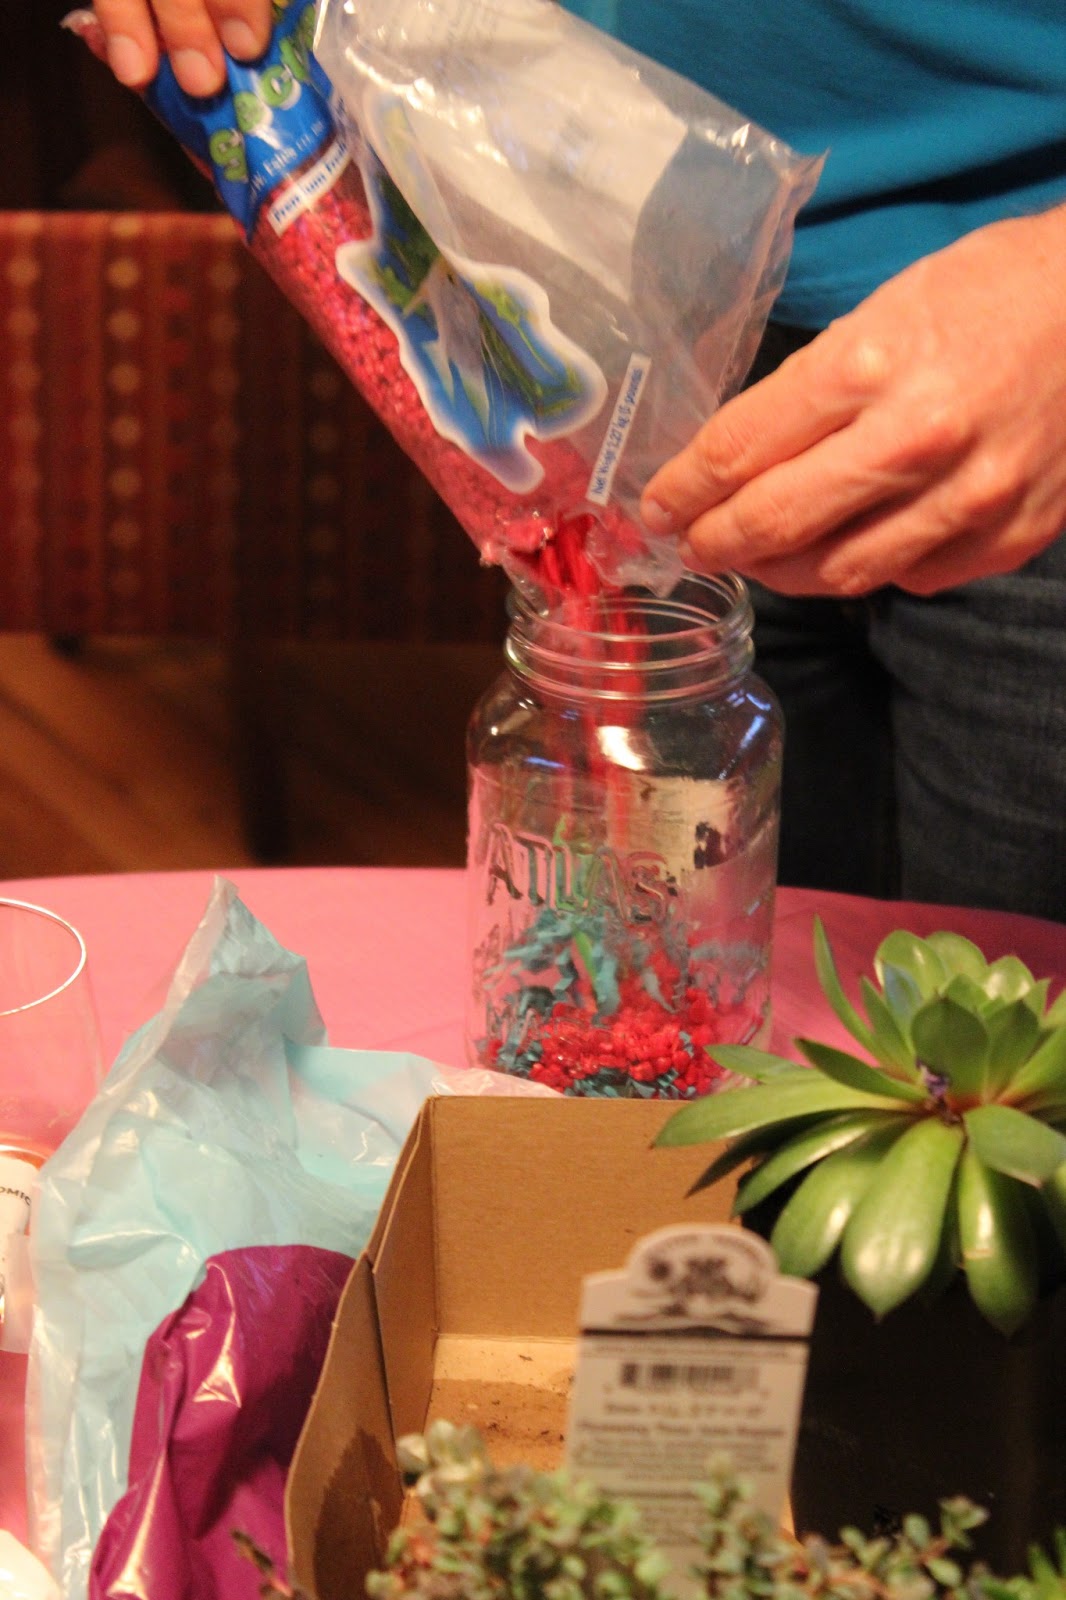
first, i gathered my materials. these included:
- a plastic knife
- really old petroleum jelly
- leftover concrete from our house remodel
- water
- three paper cups
- a fondant mold in the shape of the pendant (a heart)


the fondant mold i got was clutch because it has a spring mechanism so you can push the concrete out without messing it up. so first, i lined the mold with some petroleum jelly:


next, my dad helped me mix some concrete. just a little bit because it hardens pretty quickly. and not too watery - the perfect consistency was like that of cold butter. 


then, i used the knife to fill the mold with the concrete and level it off. we really packed it in there to make sure there were no air bubbles or holes. 


removing the concrete too quickly ended up messing up the pendant, so i let each one set for as much time as it takes to play one game of candy crush.


then, i removed the pendant from the mold by pressing the little trigger at the bottom of the mold and set it on a bag (smeared with more jelly) to set in the sun. i made about 10 of these. 

on some of the pendants, i used a small stick/piece of wire once the stick broke to make a little hole for hanging. i didn't do it to all of them because i wasn't sure i was going to like it when it was dry. 

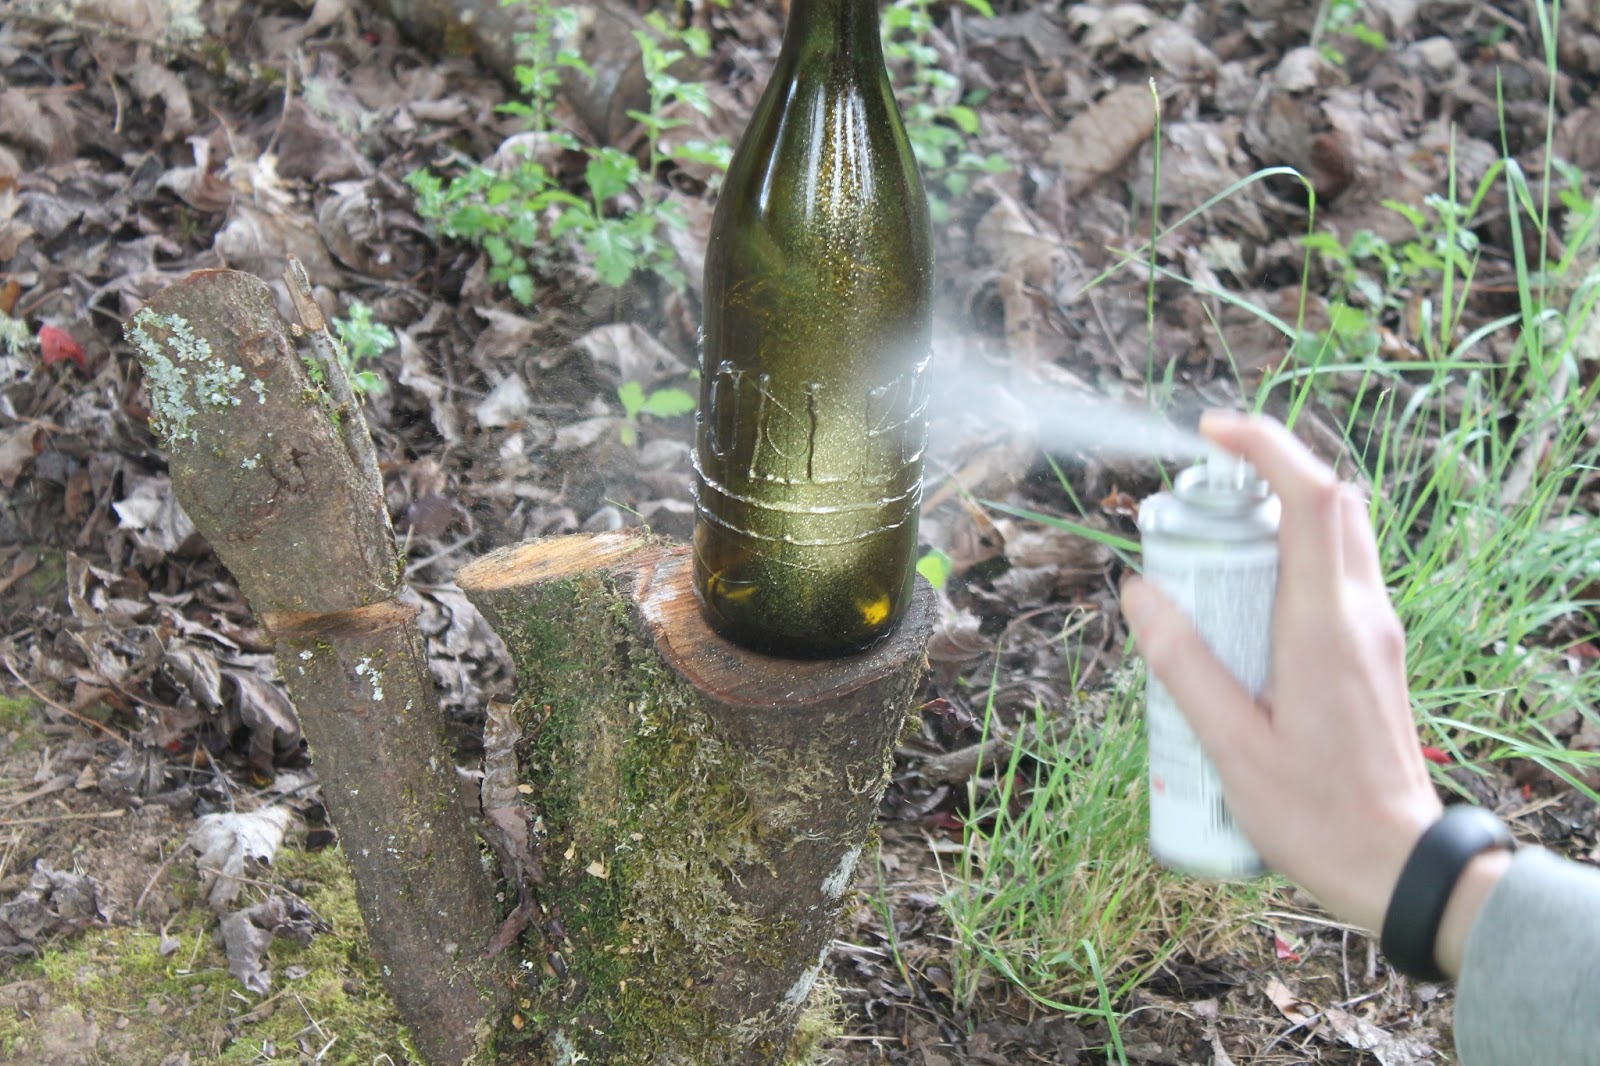
after the pendants dried (i left them overnight because the drain from our air conditioner maliciously sprayed them all with water, preventing them from drying in the normal amount of time), i sprayed them all with a touch of gold spray paint. i thought about being more adventurous with my painting, but i kind of like the look of the raw concrete, with just a little bit of sparkle.

now here's the part where things get tricky.

at first, i followed the directions from the site and flattened out some bails to stick to the back. i used jump rings and hot glue to fix everything up and ended up with a necklace that looks like this:


pretty okay, you might say. except gluing the fixture to the back of the pendant caused it to lean forward annoyingly. so i took that off. and then i used hot clue to stick just the jump ring to the top of the heart:


this looks much better! i made a whole bunch of them:


then i took my prototype to my bff and it broke in about 10 seconds. hot glue was not the right choice. so this is where we're at right now - i used gorilla glue to set one of them in the same way. i've taped the jump ring to the pendant to allow the glue to set. we have about one more hour of that before i can say if it's the right choice or not. if gorilla glue doesn't work, i'm going to hop out and get some epoxy or superglue. STANDBY.

but otherwise, so fun! modifications for the future include sticking a headpin into the heart while it's still wet to avoid this whole glue fiasco. and also adding shiny things like glitter or crystals while it's wet to add a little pizzazz!


aren't you glad we're back?! next time i'll either post something about making my own birch coasters, or spray paint. or something else that's a surprise!! unknowable. 

Wednesday, August 21, 2013

Guest post #2!!

I'm excited to share with you a guest post from one of my favorite crafters-in-crime, Anna Moiso. These shoes turned out AWESOME and I can't wait to try them myself!! Enjoy!


Greetings! If you don't know me, I'm Anna, and I have the great pleasure of guest-posting on MCA! I am super excited about these GALAXY SHOES I made last weekend and can't wait to share! All the sentences so far have exclamation points!
Anyway....I originally got this idea from a crafting site I frequent, but if you google “galaxy shoes” you'll get many, MANY results. My basic plan was to take some old, cheap, black, Keds-type shoes and spruce them up in a space theme.  I began with:

  • shoes (obviously)
  • paint brushes/sponges
  • acrylic paint in pink, purple, black, white
  • newspaper (to protect the work area)
  • painters tape
  • black paper


I wanted to try out some color combinations/patterns before I worked on the shoes. I was going for a space clouds/nebula type look.


Ok, so the painting here is not very spacy, but I did get some ideas of how I wanted to mix the colors. It was also at this point that I decided I wanted to add a little water to the paint to make it slightly thinner. This turned out to be a good call :)
Next, I taped the soles of the shoes with painter's tape so I wouldn't get paint on the rubber edges. (also I took out the shoelaces!)  Then, I started painting the cloudy parts using a combination of colors and white. The sponge brush was great for this.


After I was pretty satisfied with the cloudy parts, I took a pencil and dotted everywhere with white paint in varying sizes (mostly small). I tried with a small paint brush at first, but the pencil worked better for me. Try both ways and choose your own adventure. :)


Things I would consider doing differently next time:
  • Find some sparkly acrylic paint – I think this would be VERY cool
  • Plan out my pattern of where I wanted to paint the clouds- the two shoes look pretty similar and I would have liked them to be a little more asymmetrical
  • Some slip-ons (vans style) would be very cool for this project too!


Thanks for reading and have a great crafternoon!
Anna


Sunday, June 16, 2013

terrific terrariums

in this second round of crafting with colleen, we very successfully made terrariums!!

step one: pick your jar. there was a wide selection. i chose the fishbowl style.

there was also a rock selection. some people did a great job picking out their rocks. i made the mistake of overdoing it on the red rocks and had to go back and pick all the red rocks out when i decided i hated them. 


tim took his time really taking in the inspiration that other people were providing. 


rocks round 2.


this is when i was picking out all of the red rocks. it took awhile, but it was worth it.


there was a selection of succulents to choose for your terrarium. 


terrarium in progress!


this was my finished terrarium. i added an abnormally sized lizard (let's say it's a komodo dragon) and an army man stalking the lizard. let's look at this masterpiece from a few more angles. 


colleen puts the finishing touches on her terrarium.


 chris is finally ready to make a terrarium of his own. he starts by dumping in a handful of army men in the jar and then drowning them in red rocks.

chris was excited about his creation. tim finally felt he had enough inspiration to start on his.


basically, it was success all around. here's my recipe for terraria:

materials:
- white sand
- potting soil
- plants that don't require a lot of water
- toys
- rocks
- bowls
- moss

be sure to:
- plan ahead. it's hard to make edits.
- know when to stop. it's easy to overdo it.
- make it really awesome!!

i want to make a dinosaur terrarium sometime. with a volcano in the middle. for now, though, my wonderful terrarium is in my new office. it looks great and i really hope i don't kill the plant.

the end!

Thursday, June 13, 2013

can't win em all

i've been having a few craft adventures with my friend colleen recently. some of them have been more successful than others. sometime soon i'll post about the terrariums we made at colleen's birthday party. here i'm going to write about a craft adventure that didn't work out as well.

the goal was to take jars and wine bottles and breathe some new life into them with spray paint. we had two bottles: one was a wine bottle we planned to cover in gold spray paint and one was a mason jar we planned to cover with chalkboard paint. spoiler alert: one of these turned out and one did not.

for the wine bottle, we first took a hot glue gun and wrote colleen's name in glue. i don't have pictures of this because i wasn't thinking about pictures just then. but suffice to say this was really hard. hot glue is really stringy, as it turns out. but we did it and took the bottles outside to be sprayed. we set them on some logs because that seemed like a good idea. and it was.


colleen vigorously shook the spray paint for two whole minutes. or most of two whole minutes.


and spray! our spraying technique improved over time. at first the glitter was just really runny because we were spraying in one place instead of waving the spray paint all over. clearly we were never taggers in our youths. 


the runny glitter was really pretty while it was dripping and glittering, but less pretty when it ended up streaked.


anyway this is how this one turned out. we weren't thrilled about it.


we added a few more coats, but still were not thrilled. 


next we turned our attention to the chalkboard mason jar. we kept it simple and just focused on doing a good spray paint job.


this one turned out really well, i think. several lessons were learned from this project:
1. hot glue guns are mostly terrible for crafting with any precision.
2. chalkboard paint is as awesome as it sounds.
3. simplicity usually wins out.
4. spray painting is not as simple as one would expect. who knew?

Sunday, December 9, 2012

quill-a-thon!

this year for christmas i decided to make my life a whole lot harder and make my own christmas cards. i this spirit, i tried paper quilling. basically, paper quilling is an form that involves curling up strips of paper and molding them into shapes. and then using those shapes to make other shapes. each card took a really long time, and i got a lot of glue on my hands, but i'm really happy with the results. 

so basically you cut paper into these little strips. it's really important that the paper is colored on both sides:


then you roll them up into tight coils. i used my fingers sometimes and sometimes i used a toothpick, at least to start the coil. then, i let the coil go a little bit til it unravels to the size i want. then i glue the end of the paper down. to make a tear drop, pinch the end. to make an oval, pinch both ends. other than that, i just made it up as i went. here are the final products!


and there you have it! i added some stamped lettering to a few of them and some calligraphy inside. 
they may have taken forever but i like them a lot!

happy holidays!!