
well.
here we go.
this is my stamping workspace. i made it just now out of a part of my floor. it has everything i need: a hard surface (book from the library i should be reading for my dissertation), a nearby electrical outlet (for the embosser), and my materials!

let's talk for a minute about the materials. first, we have an embossing wand:

this embossing wand was a gift from my friend kristen, but you can get them at paper source. it's like a hair dryer in that it gets really hot except it doesn't blow air very hard so your embossing powder won't go flying everywhere.
next, we have embossing powder:

also from paper source, this is what goes on top of the ink to make the stamp look, well, embossed. you can get it in lots of colors, including translucent, so the color you'll get from the embossing is just the color of your ink pad. my embossing powder is a nice, bright white. i only have this one, but next i want to get a blue sparkly one.
and of course, you have to have stamp pads:

and stamps!


i've really wanted to get into stamping for a long time, but the stamps were always prohibitively expensive. i started getting them as gifts (the sprig, bunny, and elephant are from my friend chris, the dragonfly is from kristen, the heart ring is from renee, and the ant is from my old boss) and then i started finding the sale bin (the bird one i got for a dollar! put a bird on it!) and growing my collection that way. the last stamp is clearly the most amazing stamp ever made; kristen had it made for me in madagascar. it's my seal of approval.
okay! so what do you DO with these things? i like to make stationary with my stamps. first, you stamp the image on a piece of paper (an envelope, in this case):

then, you cover it in embossing powder (really quick, so the powder sticks to the ink before it dries):

covered!

then, wave your magic embossing wand over the image for 5-7 seconds. you'll see the image start to raise and become shiny.

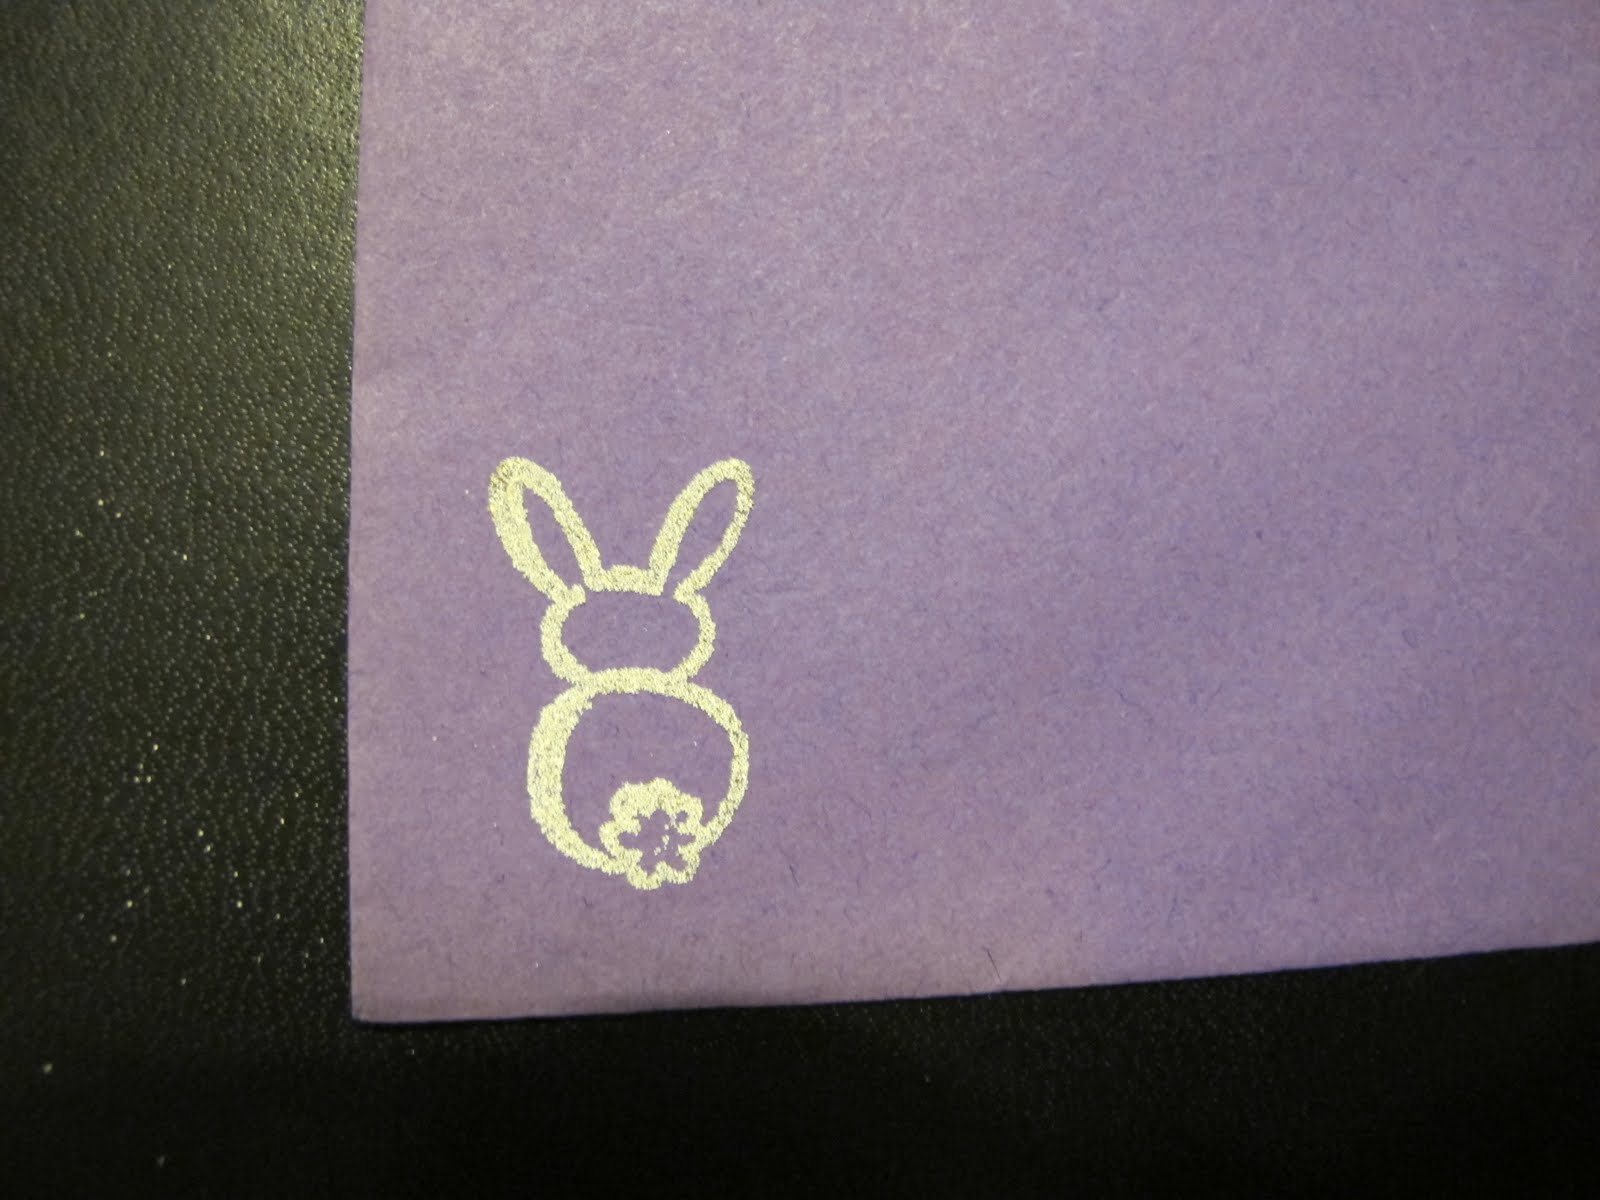
tada!! i tried to capture the texture in the picture. i hope you can tell. it feels really cool.


Yay, a shout out! I loved this post. I always saw the embossing stuff at the craft store, but I didn't know what I could use it for/what it would look like. Awesome, perfect pictures, but it just makes me realize how much I'll miss you this summer!!!
ReplyDelete