Sunday, June 16, 2013

terrific terrariums

in this second round of crafting with colleen, we very successfully made terrariums!!

step one: pick your jar. there was a wide selection. i chose the fishbowl style.

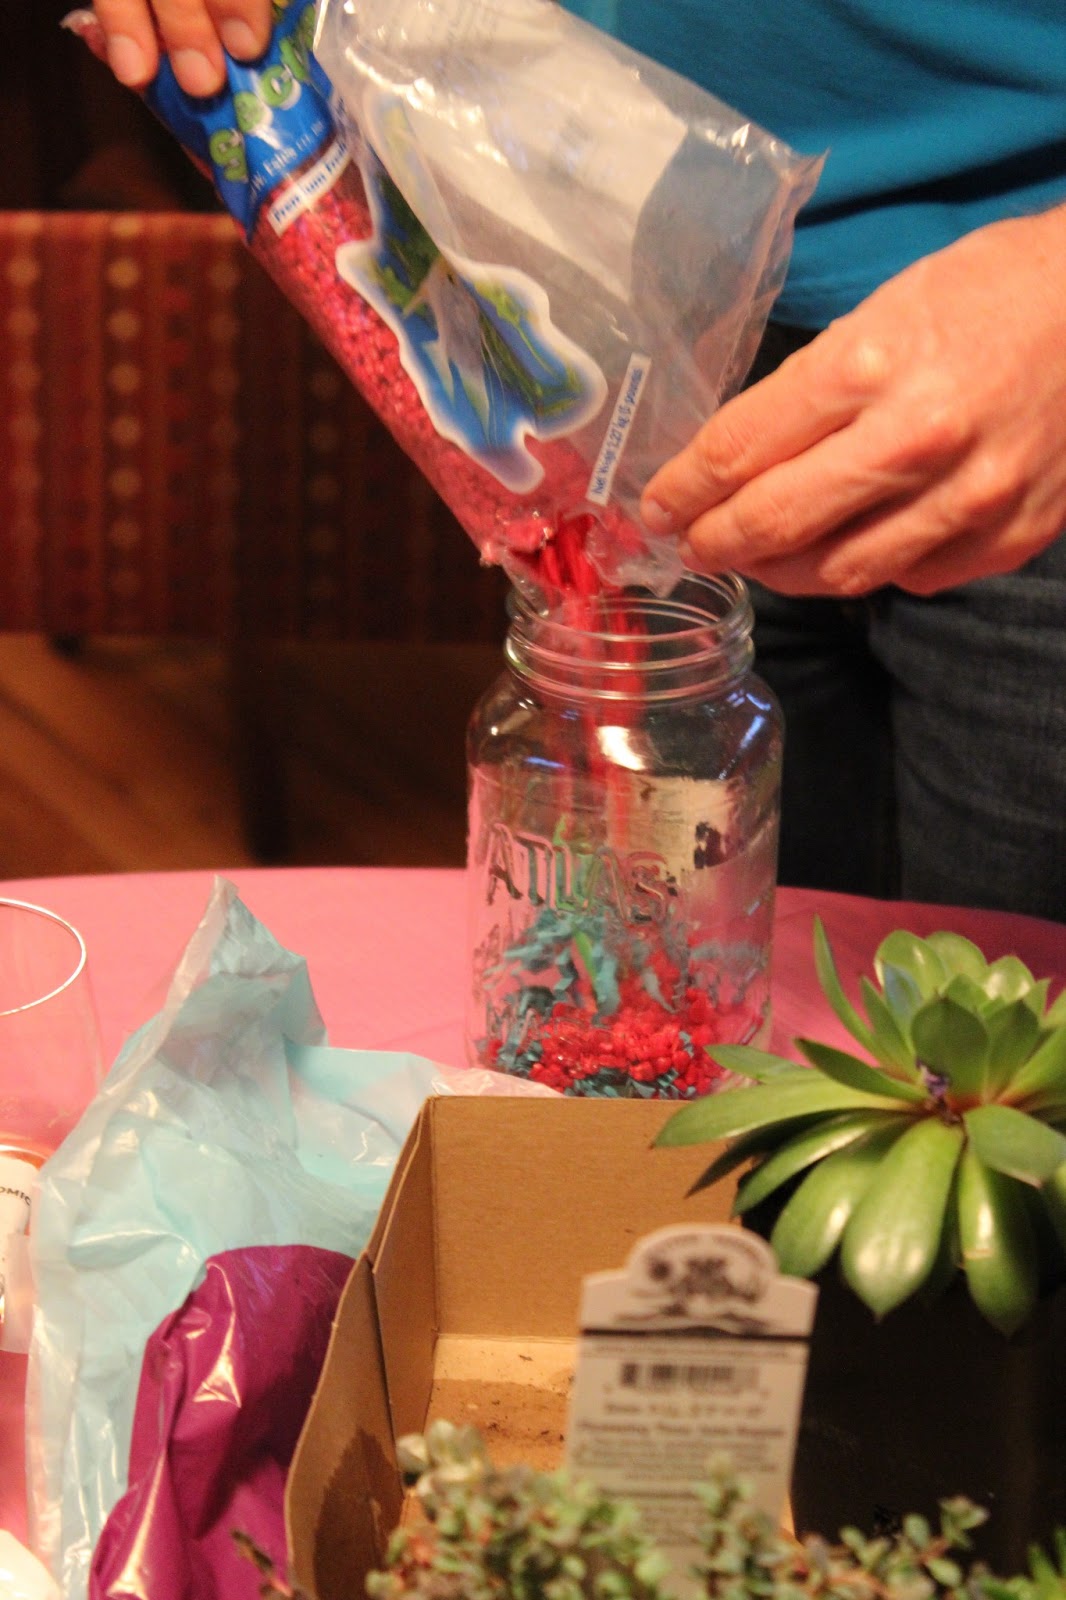
there was also a rock selection. some people did a great job picking out their rocks. i made the mistake of overdoing it on the red rocks and had to go back and pick all the red rocks out when i decided i hated them. 


tim took his time really taking in the inspiration that other people were providing. 


rocks round 2.


this is when i was picking out all of the red rocks. it took awhile, but it was worth it.


there was a selection of succulents to choose for your terrarium. 


terrarium in progress!


this was my finished terrarium. i added an abnormally sized lizard (let's say it's a komodo dragon) and an army man stalking the lizard. let's look at this masterpiece from a few more angles. 


colleen puts the finishing touches on her terrarium.


 chris is finally ready to make a terrarium of his own. he starts by dumping in a handful of army men in the jar and then drowning them in red rocks.

chris was excited about his creation. tim finally felt he had enough inspiration to start on his.


basically, it was success all around. here's my recipe for terraria:

materials:
- white sand
- potting soil
- plants that don't require a lot of water
- toys
- rocks
- bowls
- moss

be sure to:
- plan ahead. it's hard to make edits.
- know when to stop. it's easy to overdo it.
- make it really awesome!!

i want to make a dinosaur terrarium sometime. with a volcano in the middle. for now, though, my wonderful terrarium is in my new office. it looks great and i really hope i don't kill the plant.

the end!

Thursday, June 13, 2013

can't win em all

i've been having a few craft adventures with my friend colleen recently. some of them have been more successful than others. sometime soon i'll post about the terrariums we made at colleen's birthday party. here i'm going to write about a craft adventure that didn't work out as well.

the goal was to take jars and wine bottles and breathe some new life into them with spray paint. we had two bottles: one was a wine bottle we planned to cover in gold spray paint and one was a mason jar we planned to cover with chalkboard paint. spoiler alert: one of these turned out and one did not.

for the wine bottle, we first took a hot glue gun and wrote colleen's name in glue. i don't have pictures of this because i wasn't thinking about pictures just then. but suffice to say this was really hard. hot glue is really stringy, as it turns out. but we did it and took the bottles outside to be sprayed. we set them on some logs because that seemed like a good idea. and it was.


colleen vigorously shook the spray paint for two whole minutes. or most of two whole minutes.


and spray! our spraying technique improved over time. at first the glitter was just really runny because we were spraying in one place instead of waving the spray paint all over. clearly we were never taggers in our youths. 


the runny glitter was really pretty while it was dripping and glittering, but less pretty when it ended up streaked.


anyway this is how this one turned out. we weren't thrilled about it.


we added a few more coats, but still were not thrilled. 


next we turned our attention to the chalkboard mason jar. we kept it simple and just focused on doing a good spray paint job.


this one turned out really well, i think. several lessons were learned from this project:
1. hot glue guns are mostly terrible for crafting with any precision.
2. chalkboard paint is as awesome as it sounds.
3. simplicity usually wins out.
4. spray painting is not as simple as one would expect. who knew?