so, it's been a month...oops.
well rest assured that i've been THINKING a lot about my cherry amour, even if i haven't been writing.
as you may have seen if you have eyes, neon things are very in right now. for the record, i
called that trend back in march.
but alas, this entry is not really about neon things. though it could be.
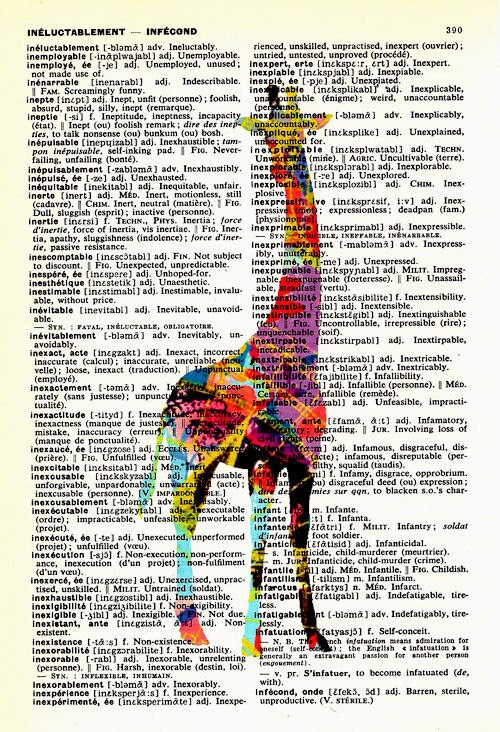
instead, i'm going to write a little something about a fun nail technique i learned! ignore how not long my nails are in these photos and focus on the designs instead. this is what this looked like when i did it at home:
stoked by how fun and different these nails turned out to be, i was excited to try them again back at school with my own colors, as opposed to my mom's collection. step one: paint your nails white. here you will see i'm using a white nail polish from wet and wild that i bought in the 7th grade.
then, pick an assortment of colors. spoiler alert, these were the colors i wanted to use, but not the colors i ended up using because for some reason, these colors were too thick.
next, fill a cup with water (all the way up) and put a few (2-3) drops of each color into the cup. the nail polish should sit on top of the water and, ideally, spread out a little bit. also, find a safety pin or some other thin stick object.
with me so far? okay. now take that safety pin or whatnot and gently swirl the drops of color together in the cup. gently.
next, dip each fingernail in to lift the design onto the nail. you might have to refill the nail polish in the cup after a few fingers - it tends to get used up quickly. i don't have a picture of this because it gets a little messy. when your nails are a little dry, get a q-tip or a cotton ball and use nail polish remover to clean up the edges/fingertips/anywhere else where nail polish shouldn't be.
voila! this looks totally different from the first time i tried it - it's a little less marbled and a little more like veils of color layered on top of another but i still like it. that's the beauty and bane of this trick - it's different every time!
you should definitely try it, though, and let me know what you think. a tip - use colors that are thinner rather than thicker. newer nail polishes tend to work better than old ones for this method.
good luck!!